Skip to content
Look what’s behind door number 1
Cutting all the rot and fibreglass out
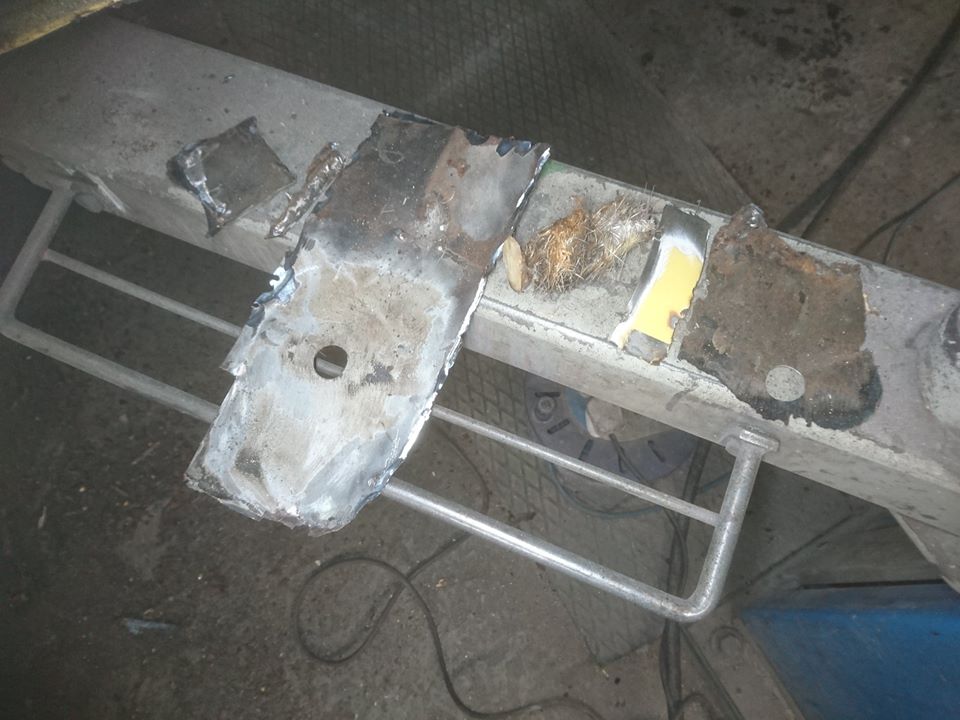
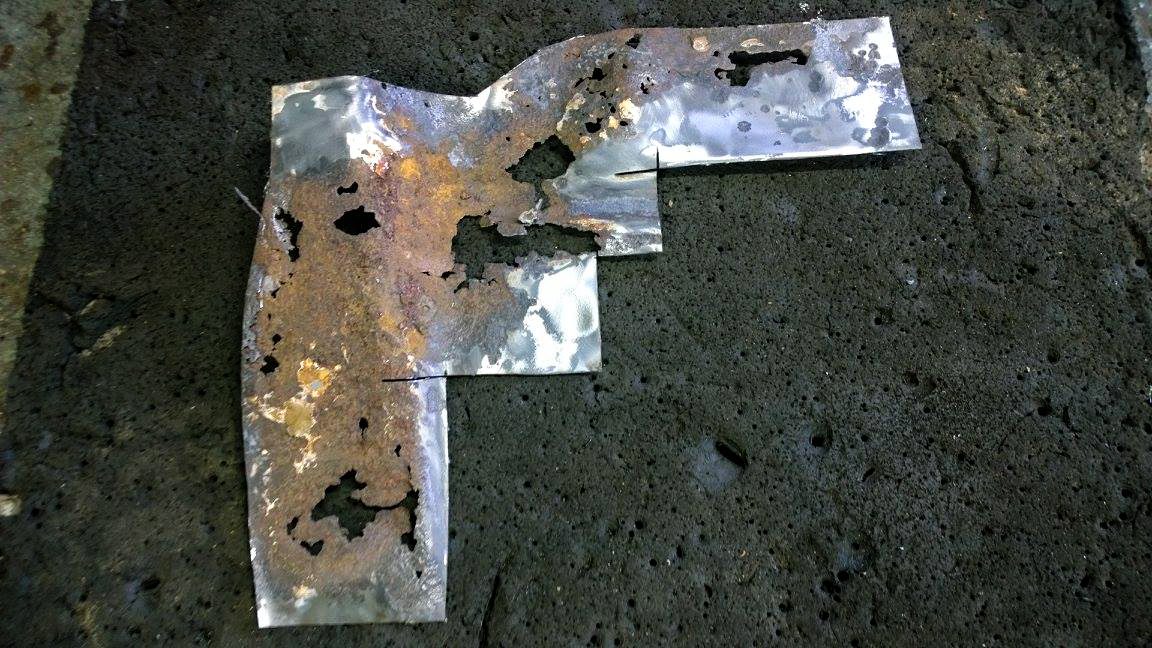
These are the bits I managed to peal away from the b post area, I won’t be reusing them!
Nice pink fibreglass poking through just next to the seatbelt mount
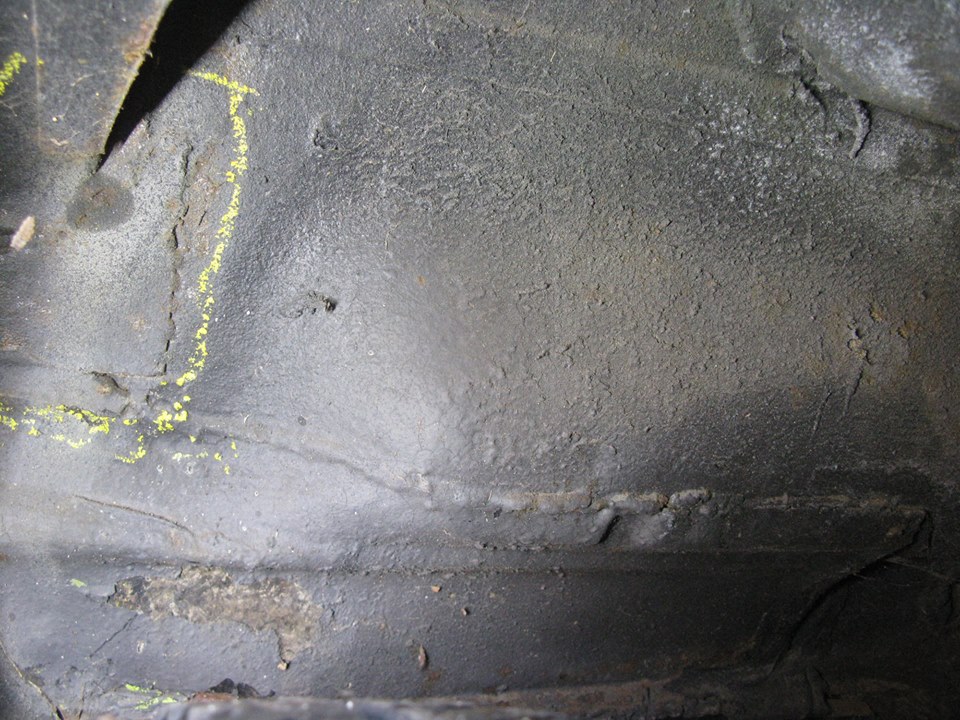
The mat was glued down over the holey seatbelt area on this one and the front step and arches mainly glued on instead of being welded.
A good bit of crash damage heavily clagg’d with filler
Nice piece of continuous welding……..
who needs a crash barrier? My legs should do!
Fantastic fibreglass seat belt mounts…
Mocked up but not running yet…
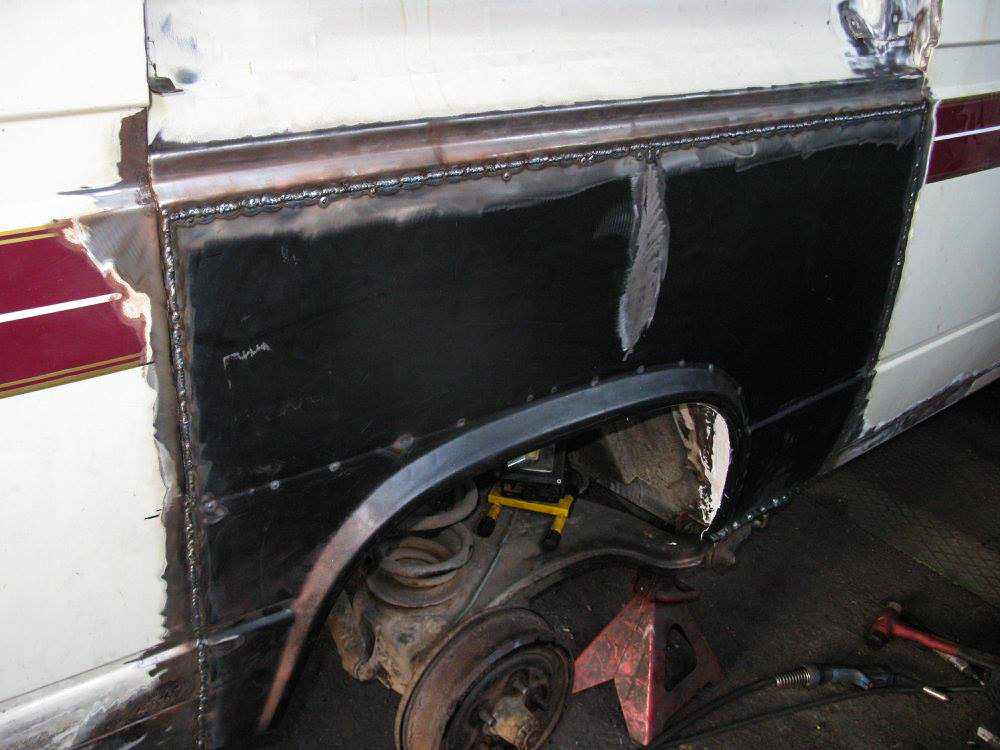
The rear of the gaurd was chopped off and welded to the front and the side shrunk in. The flared edges were trimmed and then the back rounded off
New battery box.
Roof replacement.
One very rotten roof…
Back to good metal.
Reconstruction of the roof box sections
Roof finally on.
Entire cargo floor removed…
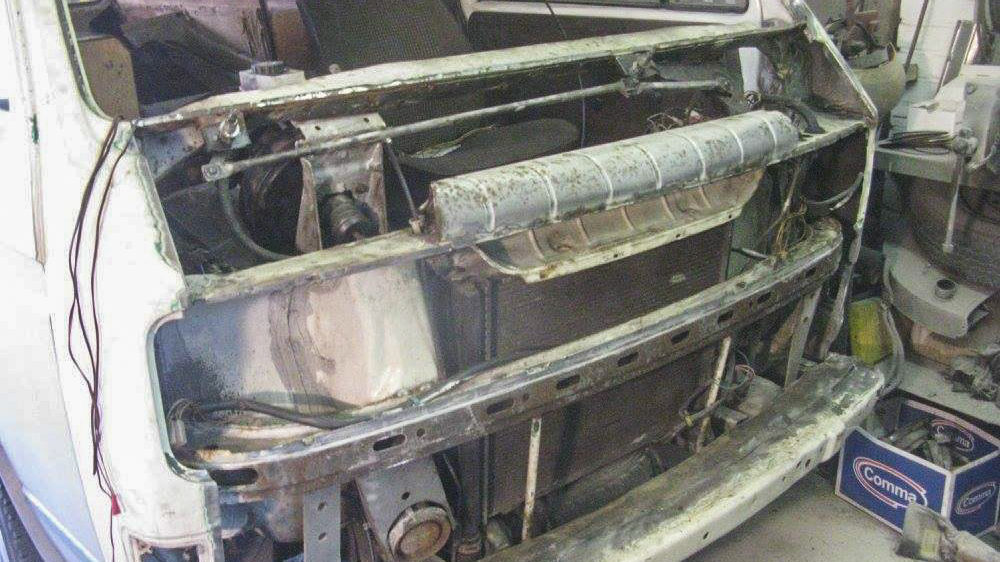
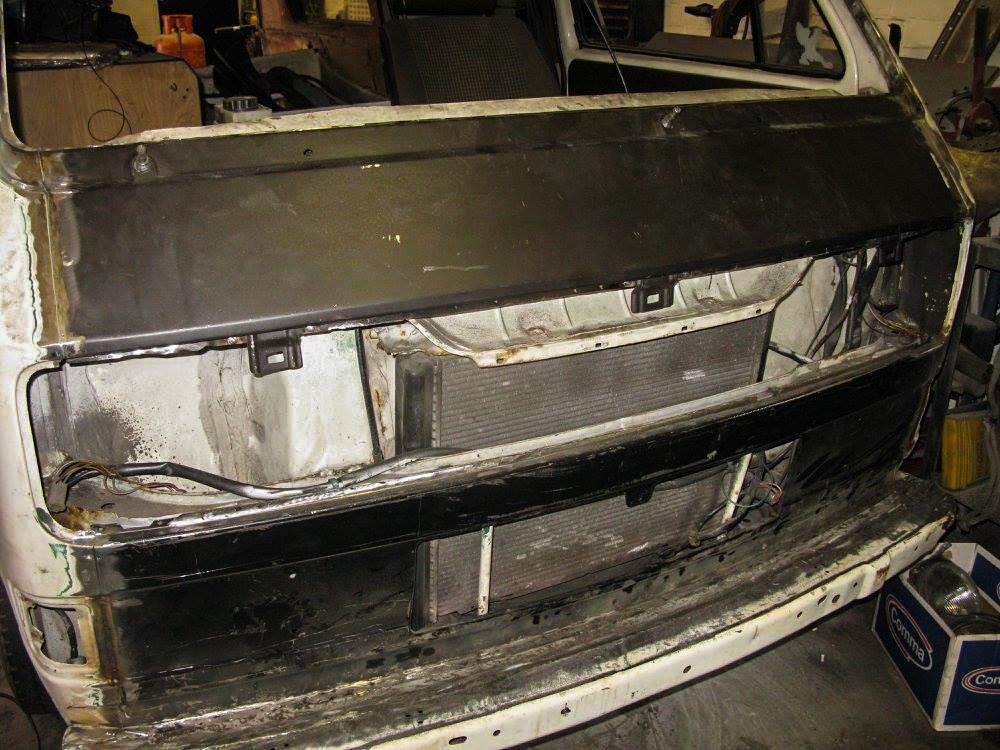
Front end removal.
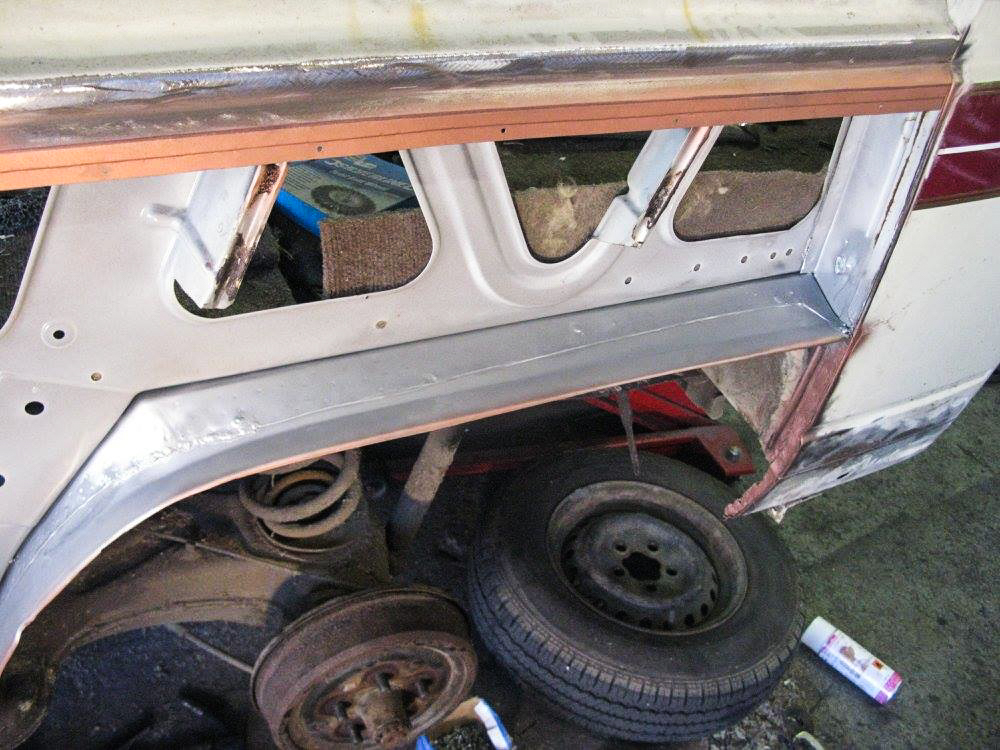
Step and arches inner a post and cab floor sections removed
Lower front inner removed,the end of the chassis legs and A posts had to be rebuild befor the front could go back on.
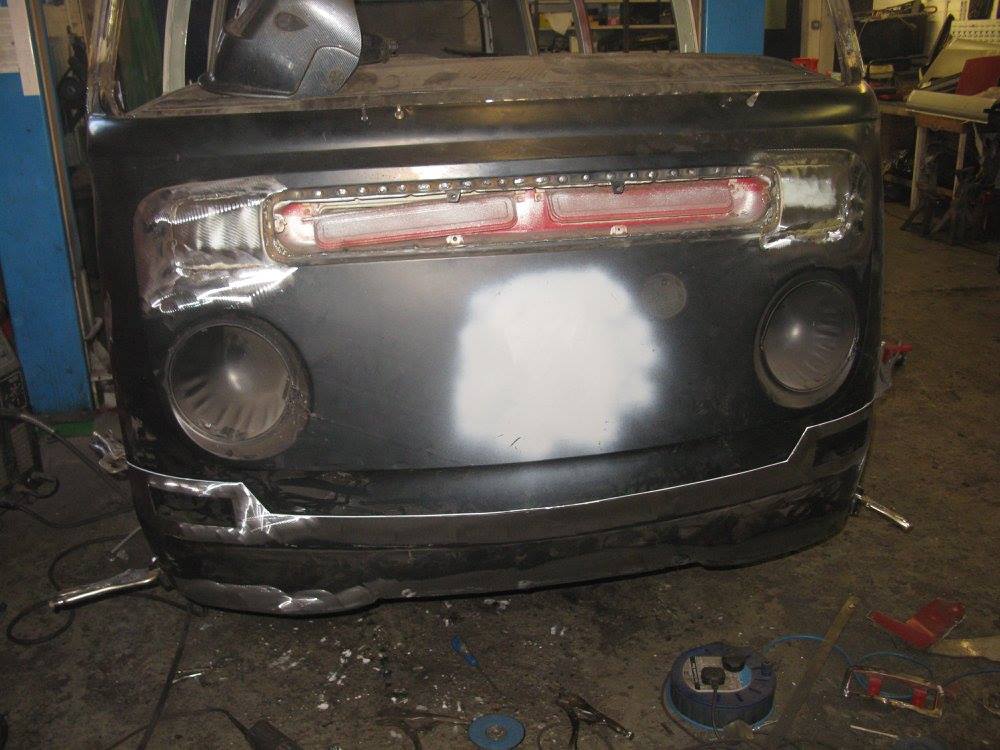
Front end neatly finished.
New seat tubs,floor and reclaimed californian step and arches.
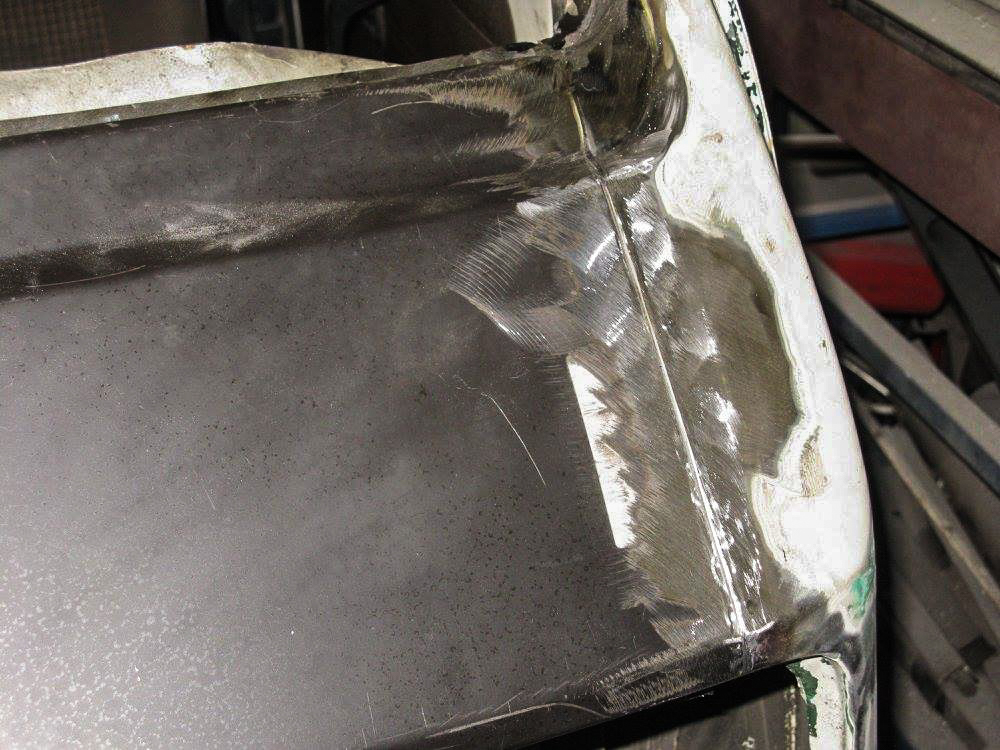
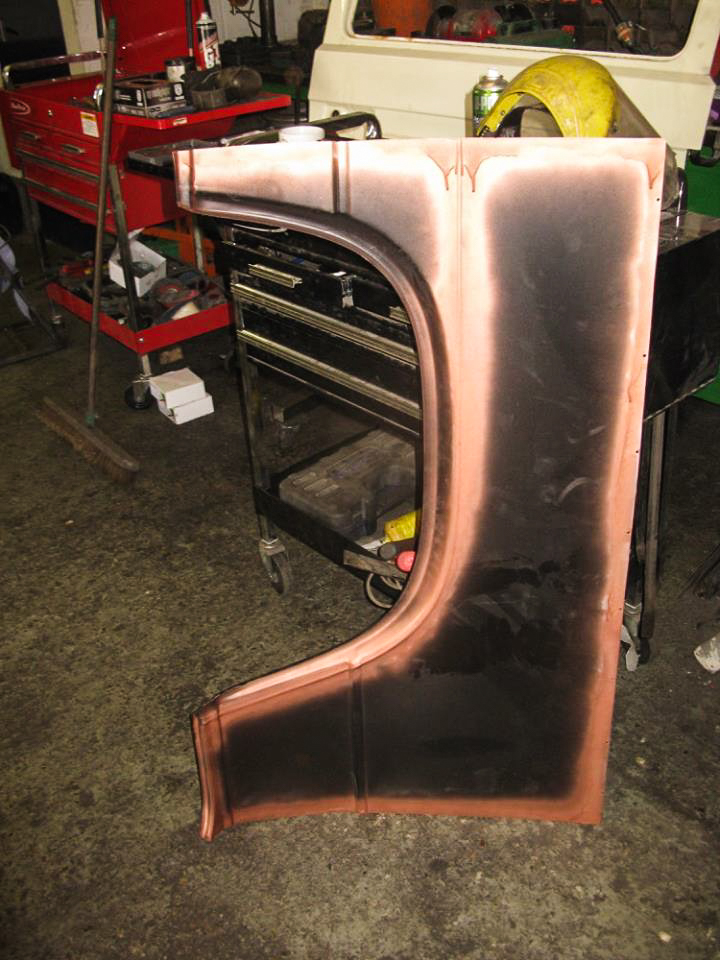
Replacement corner in place.
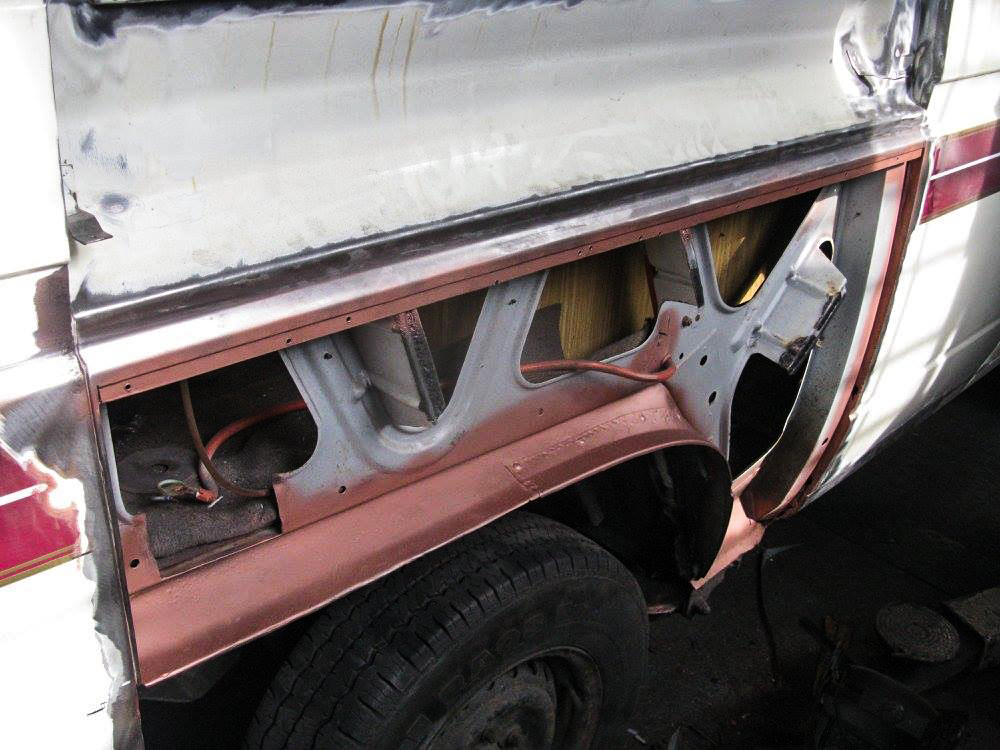
Off side rear corner and D post removed.
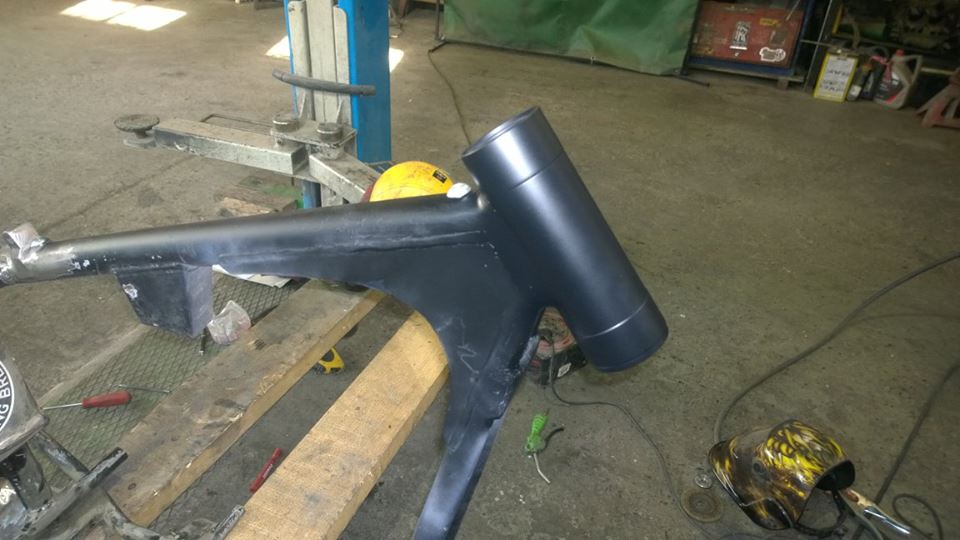
This front beam i deemed to be beyond repair so got a replacement.
Engine stipped down for a rebuild.
Chassis sections removed.
Chassis replacement.
Ready for paint covered in zinc phosphate.
Finished…
Complete interior.
Engine installed.
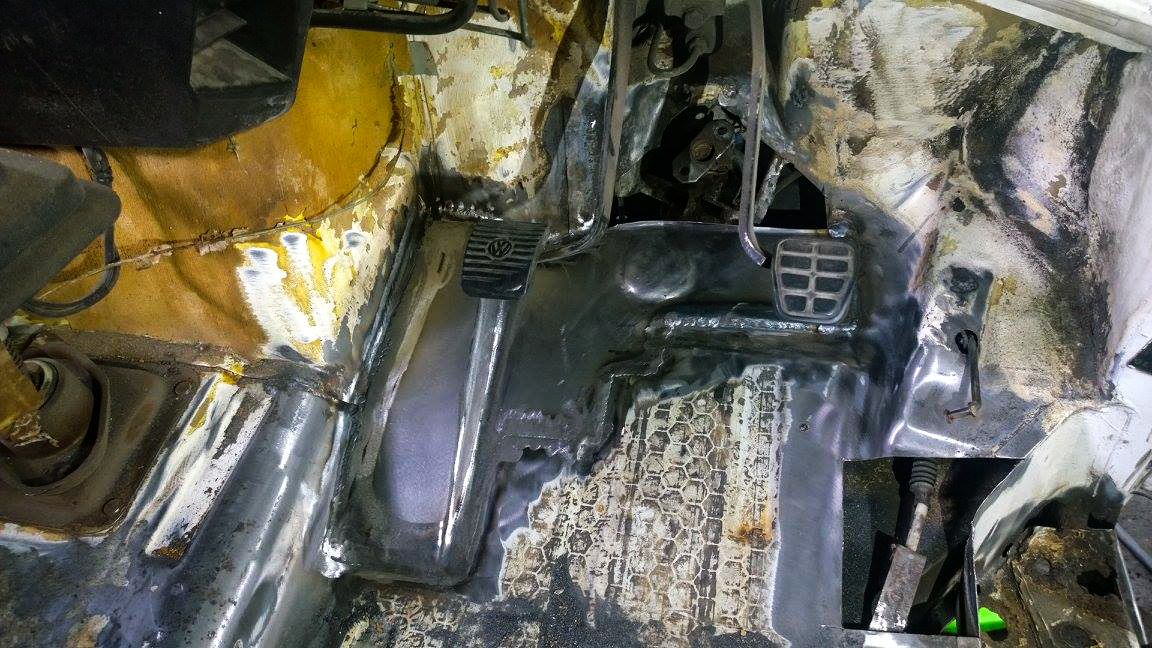
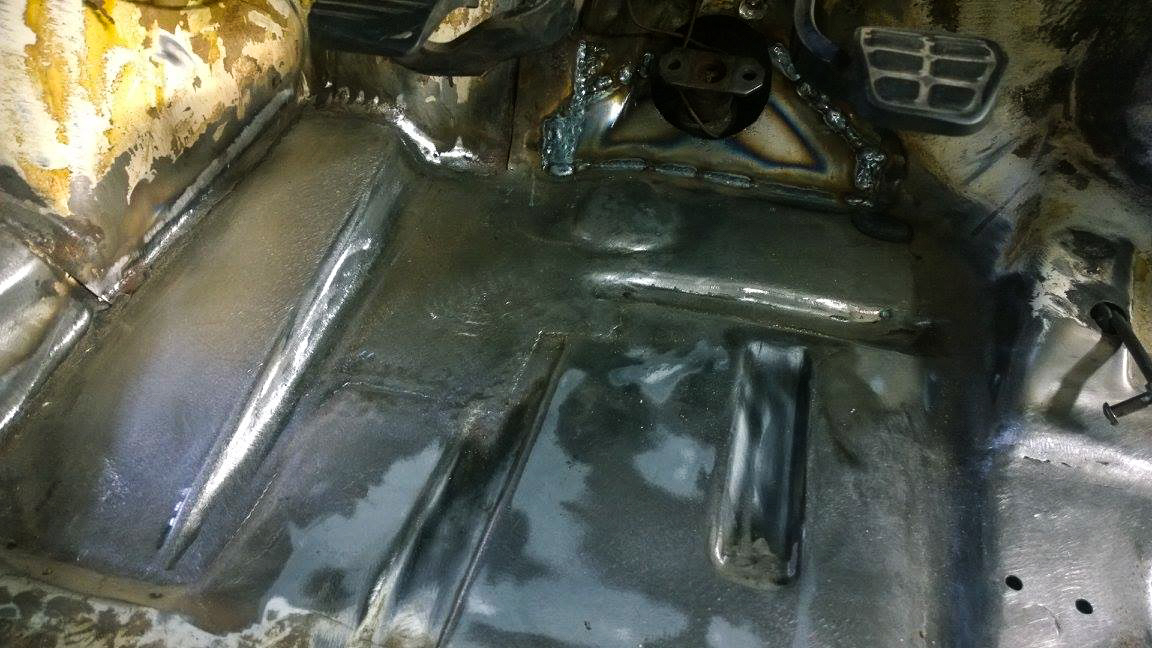
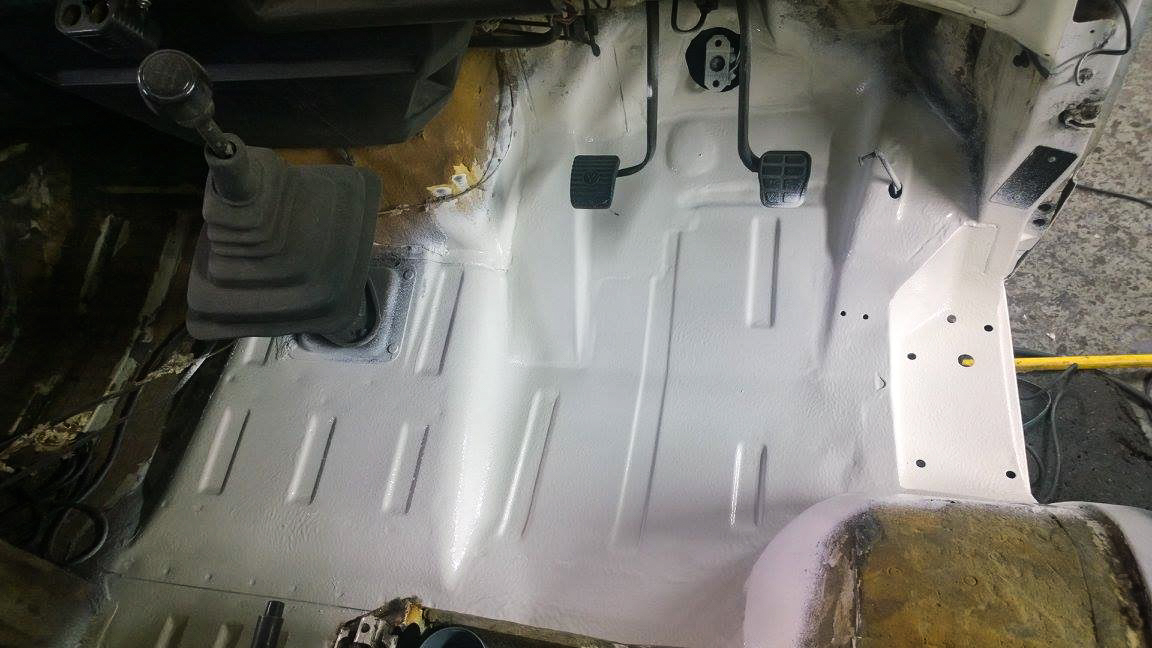
Nice piece of cab floor
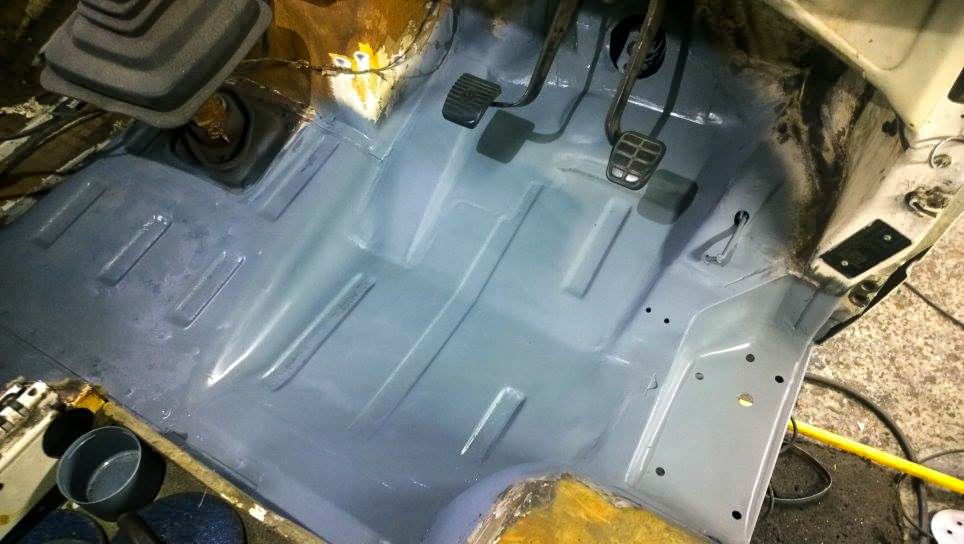
The floor has to be shaped to avoid interfering with the steering.
Linner repairs done, weld through primer applied.